

Looking for tips on how to remove epoxy grout from tiles? There are some essential steps to remember in removing epoxy grout from tiles, such as: setting up, identifying the type of tile, scraping it off and drying it up.
Below are 4 steps to remove epoxy grout from tile:
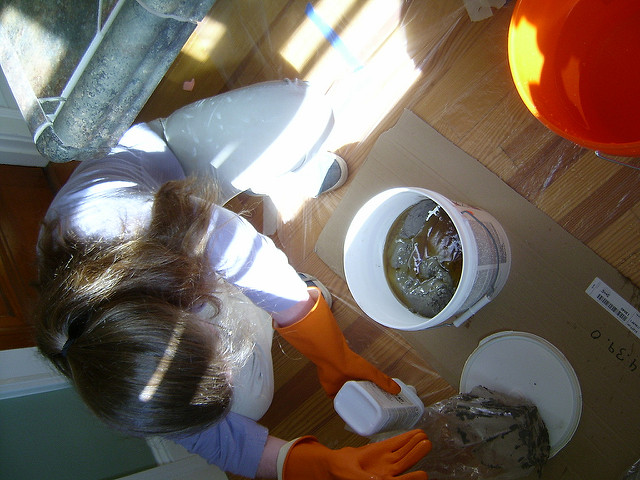
Step 1 – Setting up
Before you do anything, make sure you are wearing clothes that you don’t mind getting dirty. If you are wearing clothes you care about, change into clothes you do not mind ruining. Fill your spray bottle with equal amounts of bleach and warm water. Mix them thoroughly until the bleach dissolves. Before you apply your mixture of bleach and water to your epoxy grout, make sure your spray bottle is set to produce a stream, not a mist. Once you have done this, use your spray bottle to apply bleach and warm water to your epoxy grout. Coat the grout thoroughly. Source: DoitYourself
Step 2 – Identifying the Type of Tile
Removing grout that is adhered to a tile floor can be difficult. The type of tile greatly affects the difficulty of grout removal. Also, if the grout was polymer modified, it may be more difficult to remove. In general, the more porous the surface, the better grout will adhere. Conversely, grout is more easily removed from dense impervious tiles (e.g. porcelain). Source: TCNATile
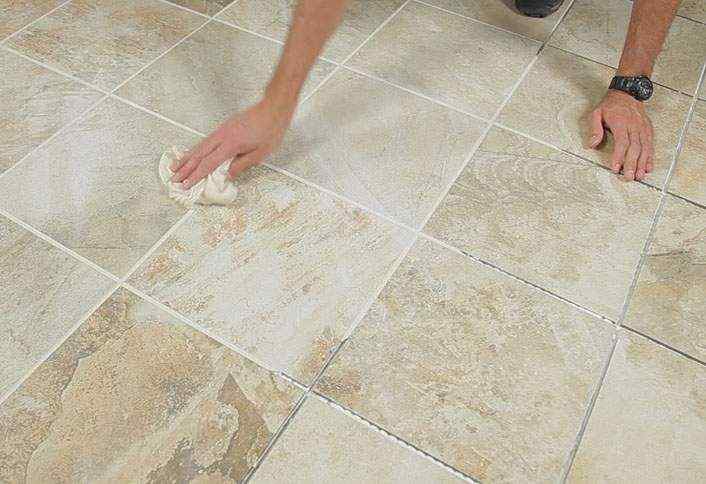
Step 3 – Scraping it off
Scrape off high spots with excess or loose grout using a wooden stick with a squared end. A solid oak stick or a paint stirrer is ideal. Remove as much grout as you can with the stick and vacuum the loosened pieces of grout as you go. Scrub the grout with a nylon scrubber and water. Sometimes a thin layer of epoxy grout will come off with moisture and some elbow grease. Thicker areas will require an epoxy stripper. Apply painter’s tape around trim and protect walls, cabinets, appliances and adjacent floors with plastic sheeting. Open windows and use exhaust fans to ensure you have adequate ventilation. Protect your hands and eyes with rubber gloves and safety glasses. Source: HomeGuidesSFGate
Step 4 – Drying it up
Spray the tiles and grout with an ecofriendly cleaning spray and wipe them clean. Let the grout dry fully before making a final decision on whether your hard work paid off — damp grout looks darker than dry grout. Apply grout sealer after the grout has fully dried to avoid any future stains. Be sure to reapply it each year. Source: Houzz
Contact Us:
Perfect Bath
Phone: Toll Free 1-866-843-1641
Calgary, Alberta
Email: info@perfectbath.com